Author: Rob Steele
-
Quick ChatGPT SEO Playbook Guide
When looking to be relevant in your particular niche, it takes more than a couple blog articles to rise to the top. Here are some quick ChatGPT prompts you can use to improve your rank. Next you will want to write an article about that keyword: The above example was used for cosmetic surgeons. You…
-

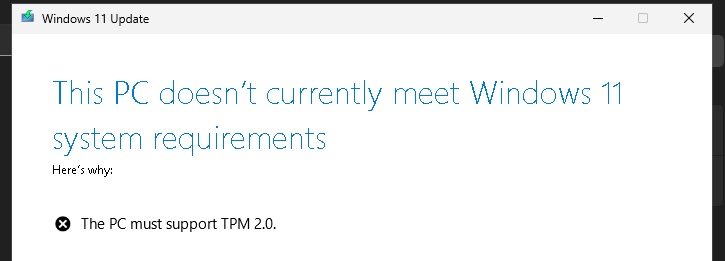
The PC must support TPM 2.0
I was able to disable the TPM check for a Windows 11 installation in VMware Fusion, but when trying to install some newer Windows Insider updates, I got an error when trying to install updates. The error was:The PC doesn’t currently meet Windows 11 system requirements. The PC must support TPM 2.0 The fix was…
-
No supported DXGI adapter were found MW2
Well this is new. Suddenly I don’t have an adapter / graphics card to run modern warefare 2. Step 1: Update drivers. Step 2: Reboot Hmmm same issue. No supported DXGI adapter were found, please verify that your graphics card is within the minimum requirement and that your drivers are up to date. Step 3:…
-

How to get the Forgotten Keycard in Rebirth Island
There are currently 3 keycards to acquire in Call of Duty Warzone Pacific season 2… The Perseus Keycard, Vikhor’s Keycard and my personal favorite: The Forgotten Keycard. How to get the Forgotten Keycard in Rebirth Island. #CallofDutyWarzone #rebirthisland pic.twitter.com/qyKt9eoUHT — Rob Steele (@RobSteele) March 28, 2022 If the video isn’t embedded follow the link to…
-
Unorganized guide to using AI for generative art.
I’ve started looking into various computer designed artwork and how they are created. It put me into a large internet rabbit hole of various resources so I’m using this page to record some of the good ones. Simplified CC12M: https://colab.research.google.com/drive/1Tw_gOowjYuWMuX122rrXTd-RV3A8u_ZD AI Animating:https://www.youtube.com/redirect?event=video_description&redir_token=QUFFLUhqbnFLdXhwN21UX0RRUzFjcHh4QnJkZ0R1cWU2QXxBQ3Jtc0ttMXBYdDh4UXhYUGI3UjRjX2xpa0ZSbGM0RmE2dU80RE9HRTBSbklyTFItc1lEMEVNamxCdTlHMjFTTlpjdE5oWm9lQV9tRlo4a2t3dVl5bFJUUk4zUmtEUllyeUFfV3FfQkJWclVVWTJBVmFLZnpLZw&q=https%3A%2F%2Fcolab.research.google.com%2Fdrive%2F1_MckQnU0mCF8FJ7PoV21nhVvoOeotHGy%3Fusp%3Dsharing CLIP guided Diffusion: https://youtu.be/QVUq7nTchco Enhanced with Real-ESRGAN / VQGAN-CLIP Pytti: https://www.youtube.com/watch?v=hM9xnar1e_4
-

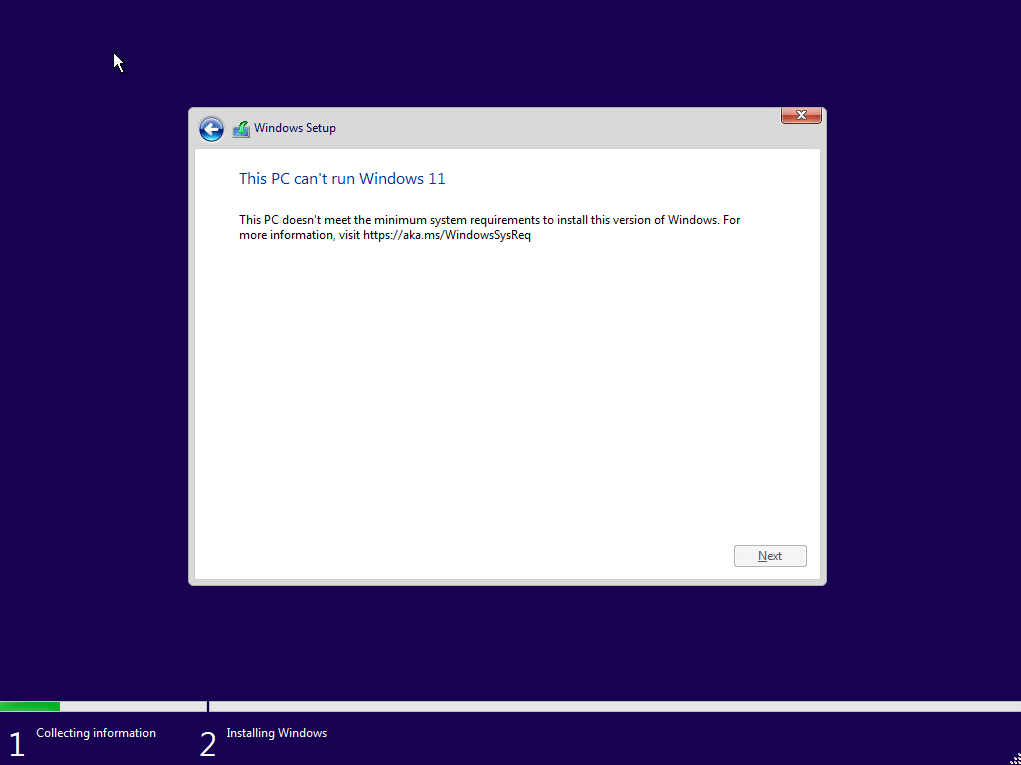
This PC can’t run Windows 11 on ESXi 7
When trying to install the latest version of Windows 11 on my lab ESXi 7.0 host, I encountered the following message: This PC can’t run Windows 11 I verified that I had met the minimum system/hardware requirements:Windows 11 System RequirementsProc: 1 GhzRAM: 4 GBStorage: 64GBSystem firmware: UEFI, Secure boot capableTPM: version 2.0Graphics card: directx compatible…
-

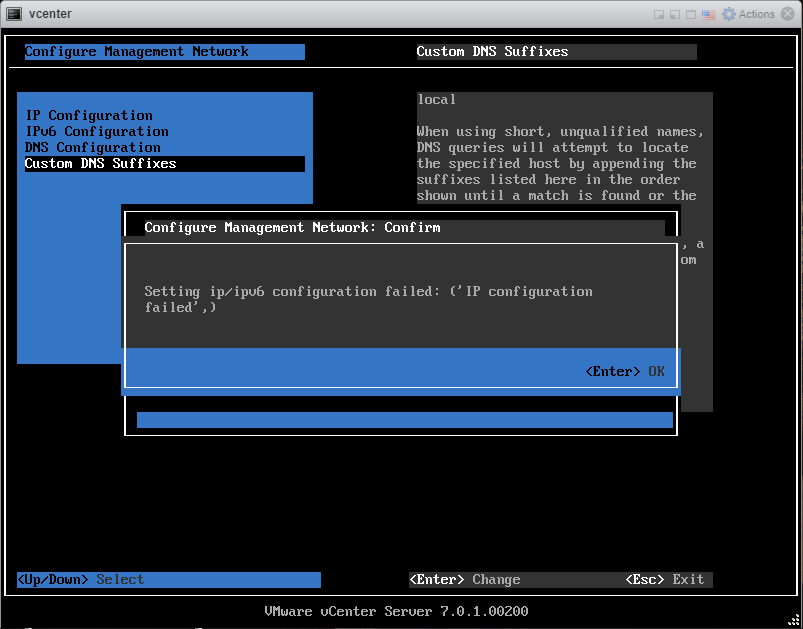
vCenter failed to configure network
Well I thought this was fixed in the latest version (7.0U1c) according to the release notes but apparently it wasn’t. If you are like me you are simply trying to deploy the vCenter appliance with standard IPv4 network settings and the setting will not take. I’ve had various error messages like: ‘IP configuration not allowed‘…
-

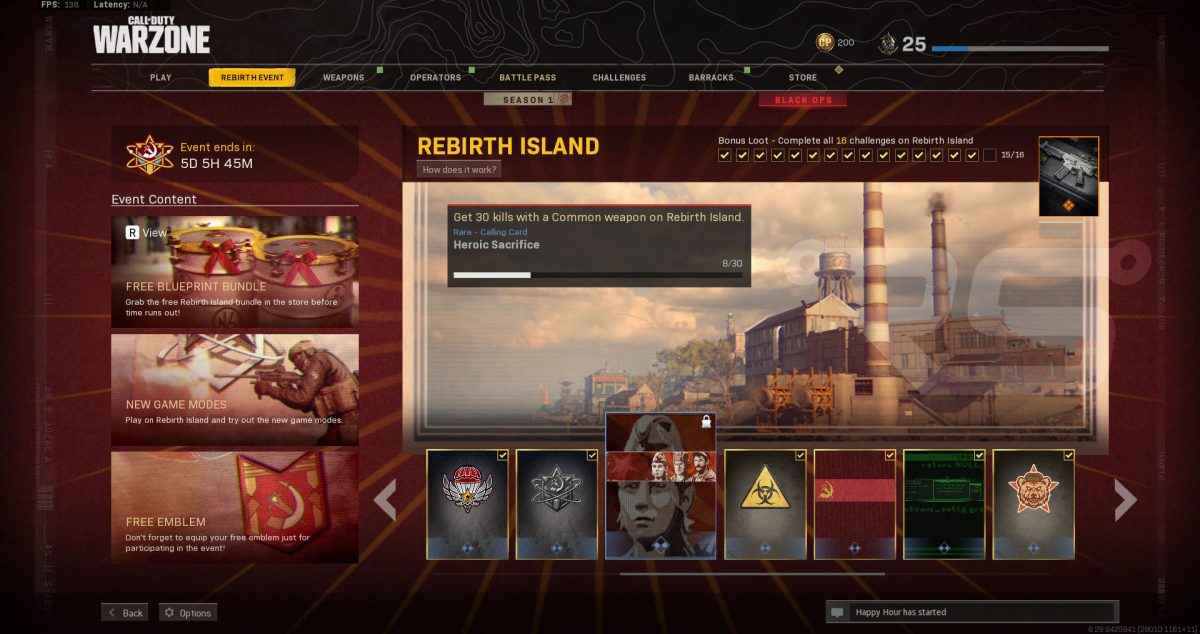
Rebirth Event – Common Weapons
I’m sure many of you have scratched your heads on this one… for some reason “Common” weapons aren’t really a common thing on rebirth island. As you can see in my screenshot I’ve completed all of the other challenges but have beat my head against the wall trying to solve the Heroic Sacrifice challenge of…
-
Shortcut to change Alienware Monitor Input
Whether I’m gaming or sending out business emails, my alienware monitor has always been right in front of me. It has great performance for gaming and amazing color range for editing videos or photos. Long story short, there are many things I love about the monitor… but switching inputs is definitely one of the things…